Tutorial: Multi-Step Card
- Read time: 1 minute
- Written by: Sara.Davies
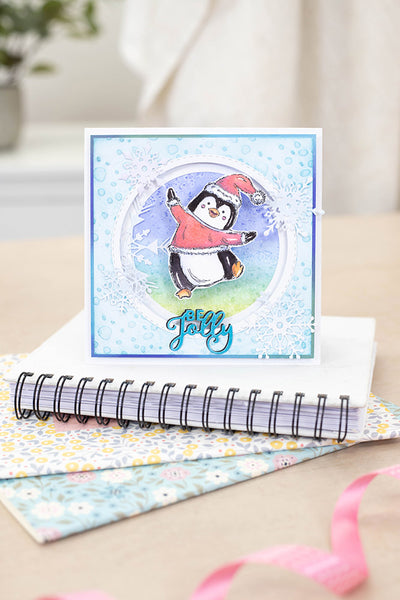
I absolutely adored this card that Gini Cagle, from the Crafter’s Companion US Design Team, sent in for one of my shows on HSN. She was kind enough to put together a tutorial and let me share it here with you! Please note, her measurements are for the US version of this die, which is slightly different-sized than our A6… but not too much!
Supplies:
Directions:
1. Cut construction cardstock 4 1/2” X 20”
2. Using the Big Score, place the long edge against the top and score at 5 ¾”, 11 ½”, 14 ¼”, 17” and 18 ½”
3. Fold the scores as shown.
4. Die cut Daisy Dreams and trim as necessary.
5. Use the die-cut center circle as a template to cut a circle in the card base.
6. Line up the die cut and the circle on base and adhere.
7. Cut panels to decorate the card as follows:
- Inside of the back panel 4 ¼” x 5 ½”
- Middle fold (x2) 4 ¼” x 2 ¼”
- Front fold (x) 4 ¼” x 1 ¼”
8. Emboss the panels and mat if desired.
9. Stamp the sentiment with watermark ink and heat emboss.
10. Add the die-cut daisy circles to each fold.
11. Decorate with die cut flowers, ribbons and pearls.


