A bazillion ways to use our Shut Your Flap Tabs
- Read time: 5 minutes
- Written by: Tiffany Spaulding
Okay, I’ll admit a BAZILLION might be an exaggeration
But, it seems that I find a new use for these almost everyday. The big benefit to our SYF tabs over a regular paper sticky note is their durability. While paper notes will crease and fold, plastic notes “spring back” so they’re always visible. With that said, they are still just a sticky note, so you will have to replace them from time to time.
Here are just a few of the ways/places I’m using our SYF Tabs.
On ScrapRack page flaps
Shut your flap tabs were originally introduced to make it easier to lift the flap on a SR storage page. Because the pages and pockets are clear, finding the flap – especially for those of us over 50 – can be a little difficult. Adding a SYF tab makes it easy to find and lift the tab.
The weight of the tab on the flap also helps to pull the flap shut and keep it flat. If you’ve had ScrapRack pages with flaps that are flipped up, adding a SYF tab will help smooth them back down.

Label embossing folders – number or name
Use a SYF tab to label your embossing folders so they are easy to find and access. If you’re using my recommended cataloging system, you can simply use the tabs to add numbers to your folders.
If you’re organizing your folders by theme, holiday, or event – use a SYF tab to add a name (description) to each folder.
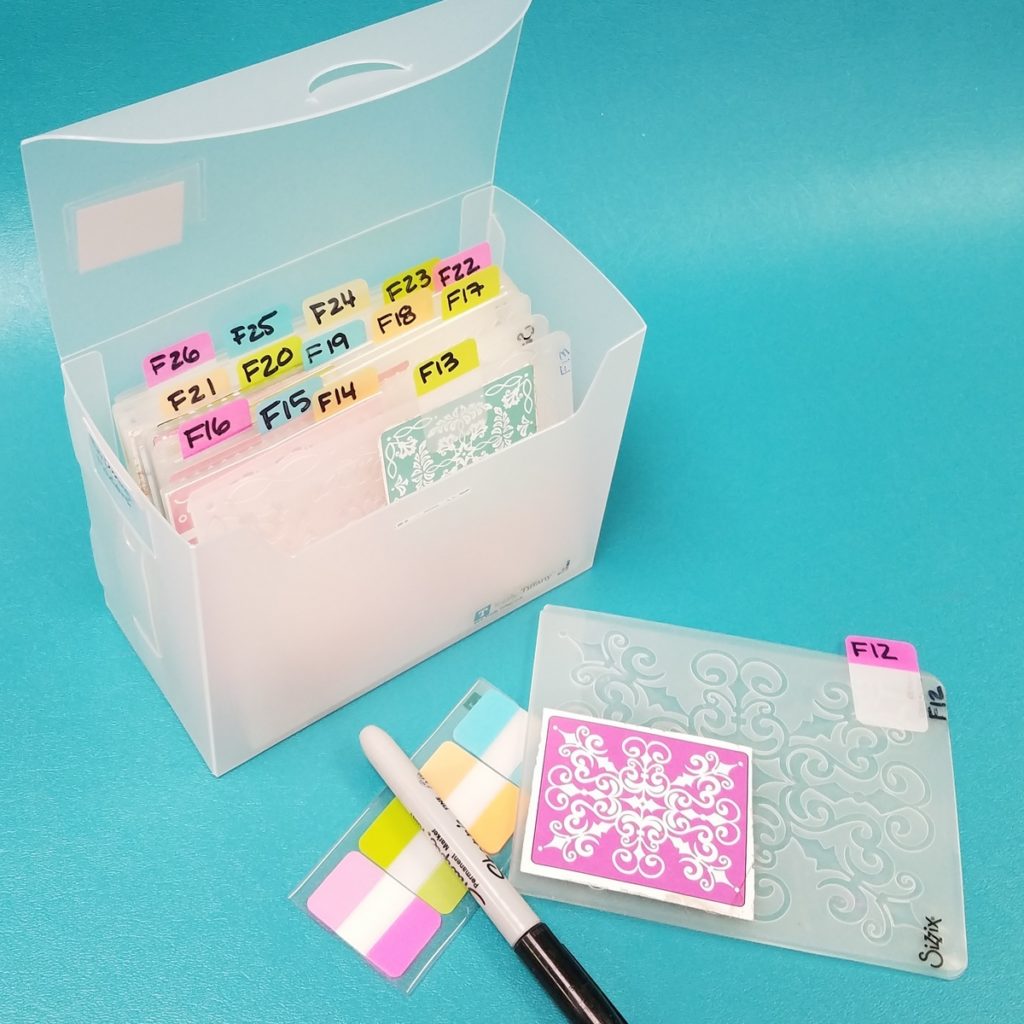
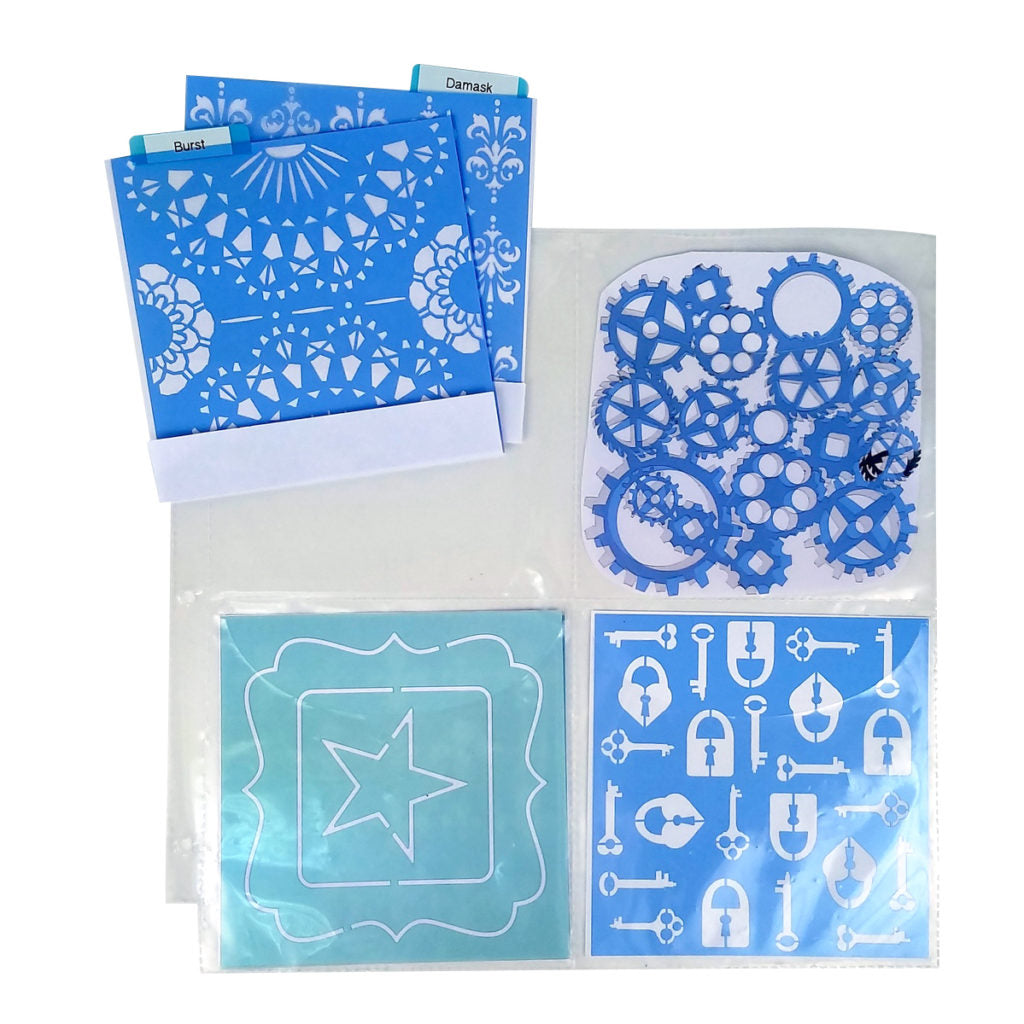
Stencil organization
I used our large SYF tabs AND my label maker together to label these tabs (click photo to view larger). If you like to keep things super neat, adding a label from your label maker is a good option. Labeling each stencil allowed me to put multiple 6×6 stencils into a single pocket of a ScrapRack Fab Four page. I separated each stencil with a sheet of white paper.
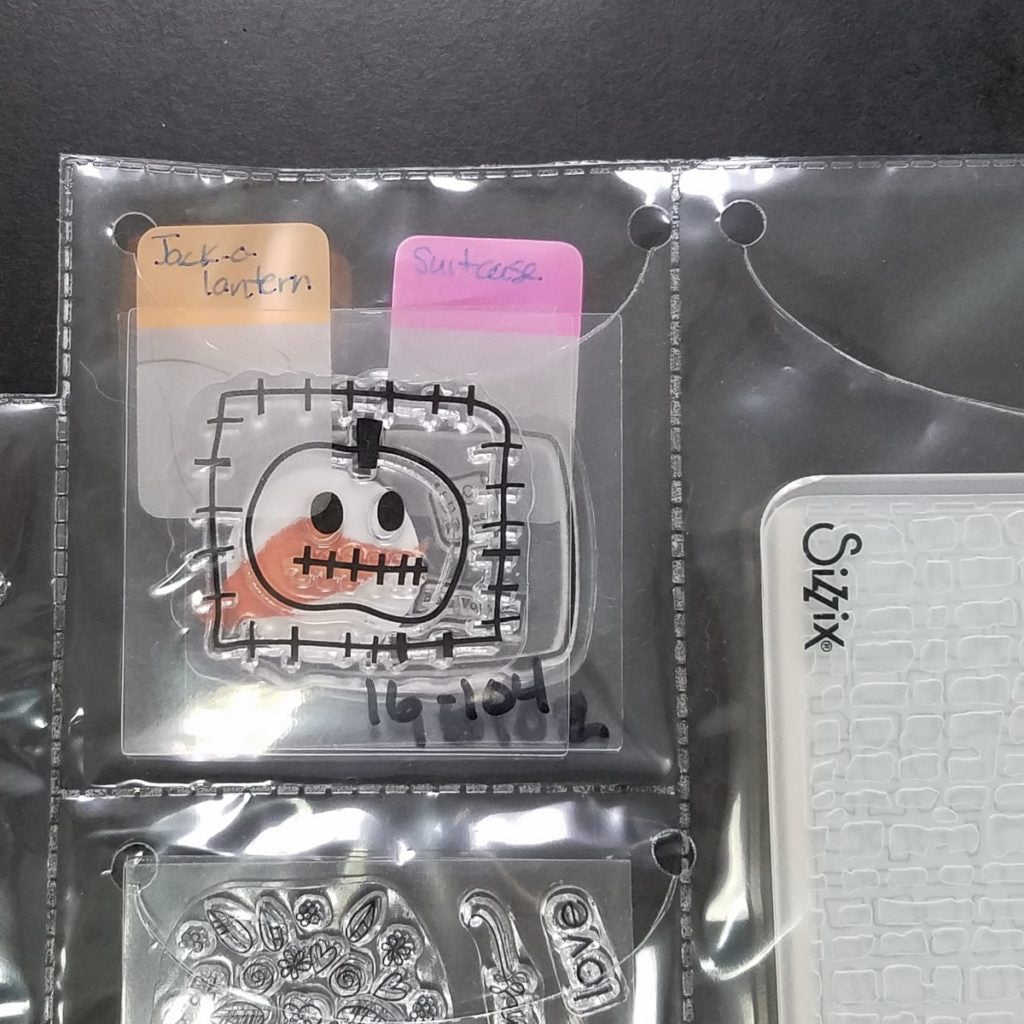
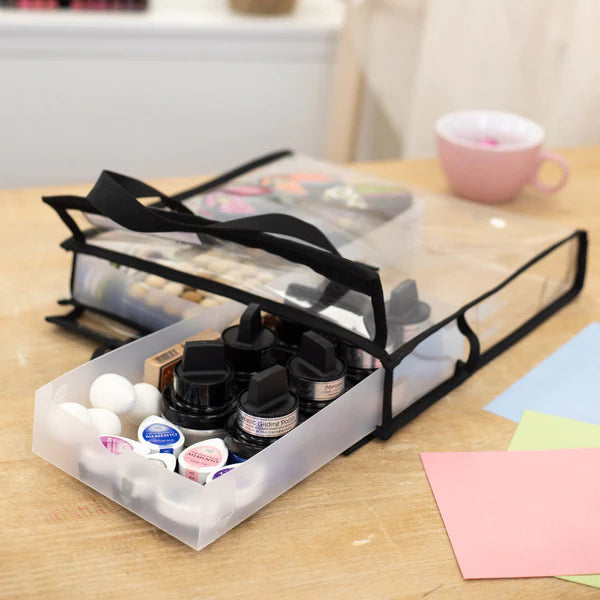
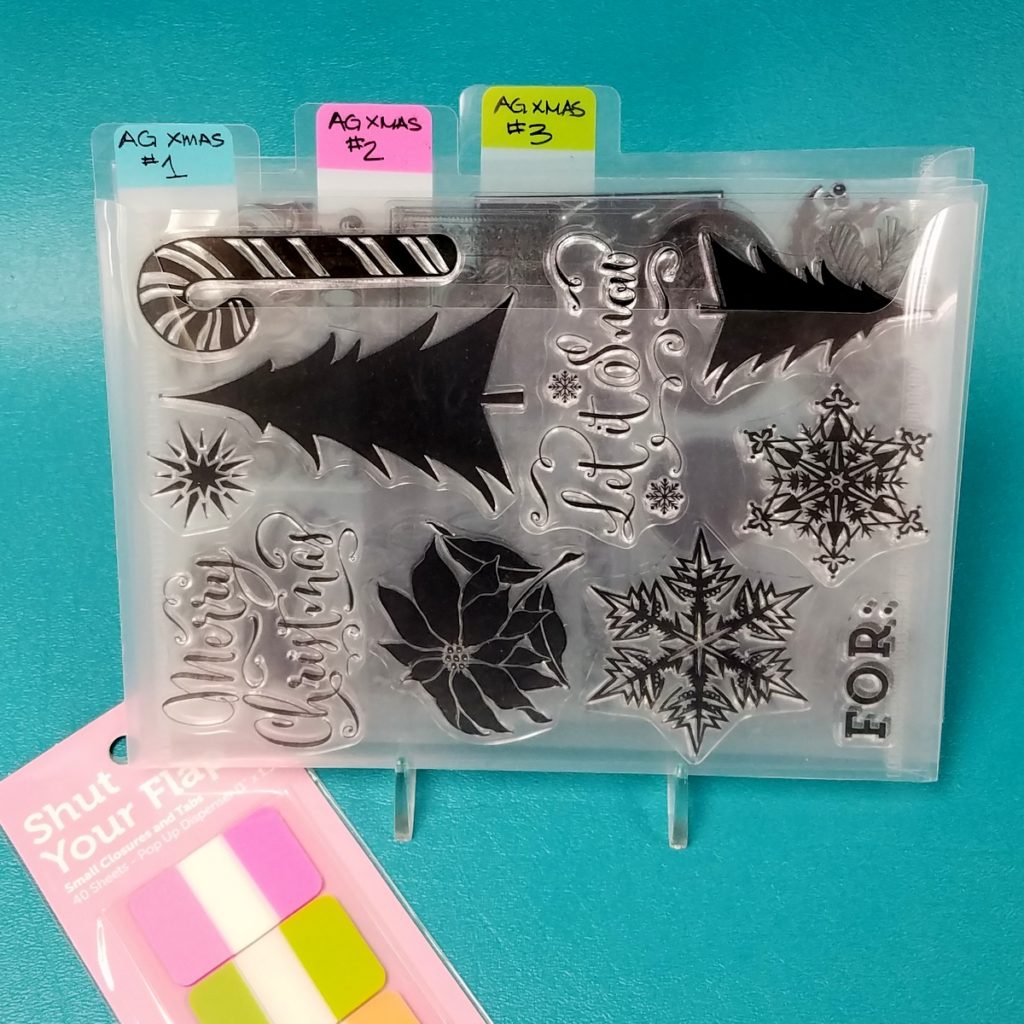
As a handle – easy pull-up access
I added small SYF tabs to these clear stamps and slipped them into a ScrapRack page pocket. The tabs do double duty – I can see the description of the stamp and also use the tab to pull the stamp out of the pockets. This is really useful when you have multiple items in a pocket that are all about the same size.
Use them as temporary labels on your PSB Dividers while you’re sorting paper.
When you’re sorting paper, use small SYF tabs to label each of the dividers. As you sort, you’ll want to rearrange tabs, add themes, etc., so having the repositionable labels will make this an easy task.
Use them to label your ScrapRack Dividers
I use SYF tabs on my SR dividers rather than labeling the actual divider. I like the 5 tabs of my dividers to stay consistent from top to bottom of my ScrapRack. If I wrote on or labeled the dividers permanently, each time I added or removed a category my divider tabs would be out of sync. Using the SYF tabs, I can leave the dividers in order and just shift the tabs.
Stamp Pocket labels
If you’re using our Stamp Pockets in your Karen Buddy Bags or 5×7 Fab Files, you’ll love how easy it is to label them with the small SYF tabs. The bright colors make them easy to see.
Since they aren’t permanent, if you change the contents of the pocket, it’s easy to relabel the tab.
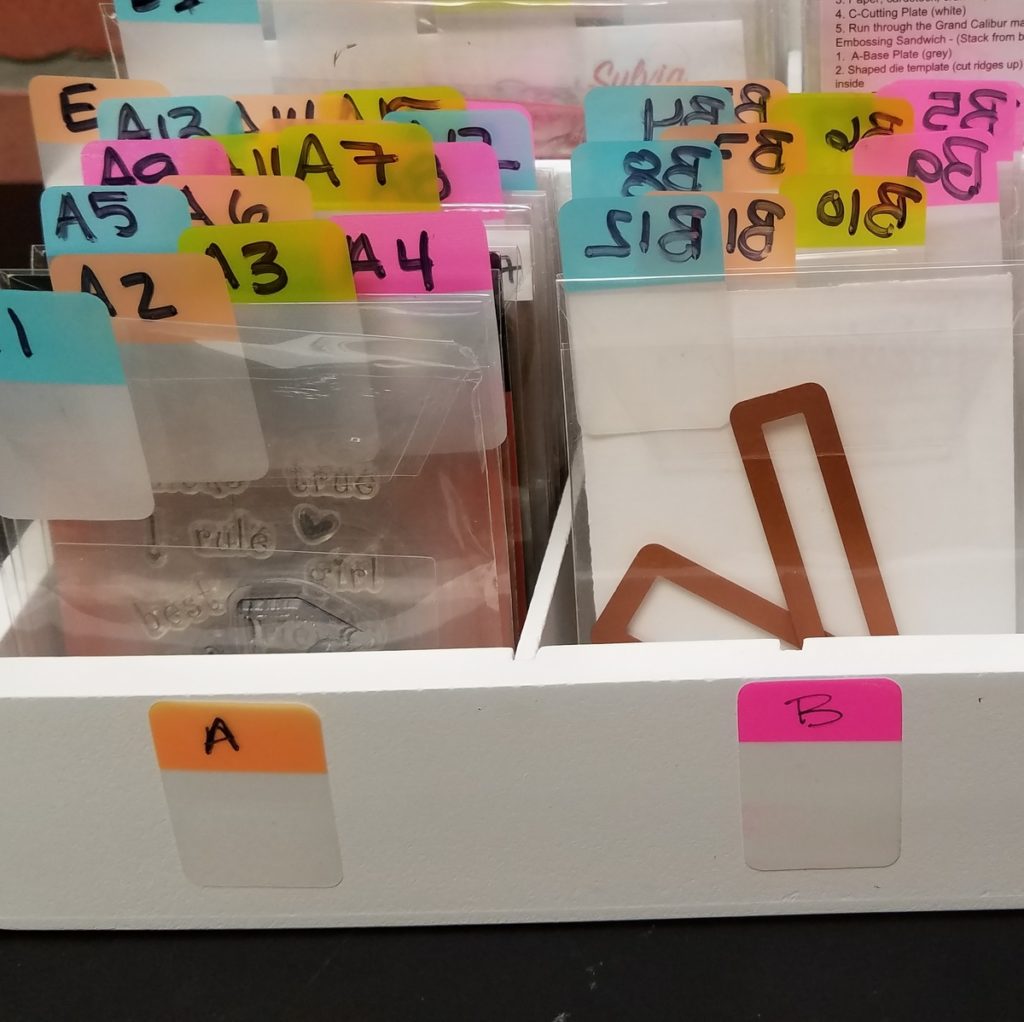
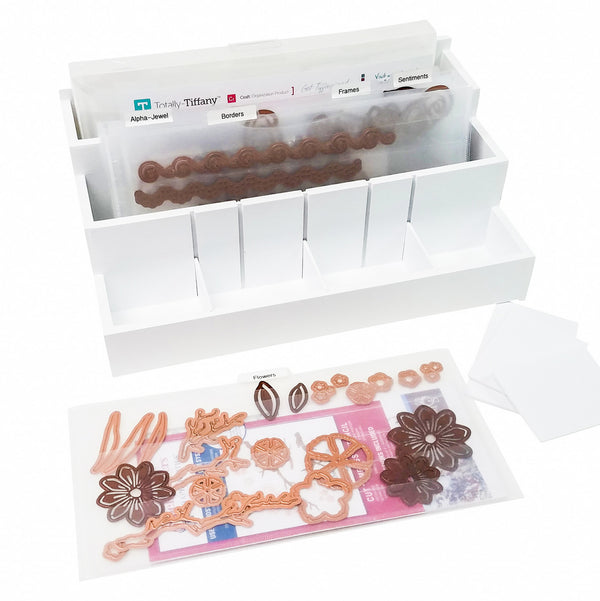
Die & Stamp Pocket labels
I have most of my dies, stamps, and punches cataloged by number. I used the tabs to add the number to each of the die pockets in my Die, Stamp & Supply organizer.
This picture was taken during the process of organizing, so the “B” pockets are turned backwards until they were added to my catalog. Die & Stamp pockets are available in 3 sizes.
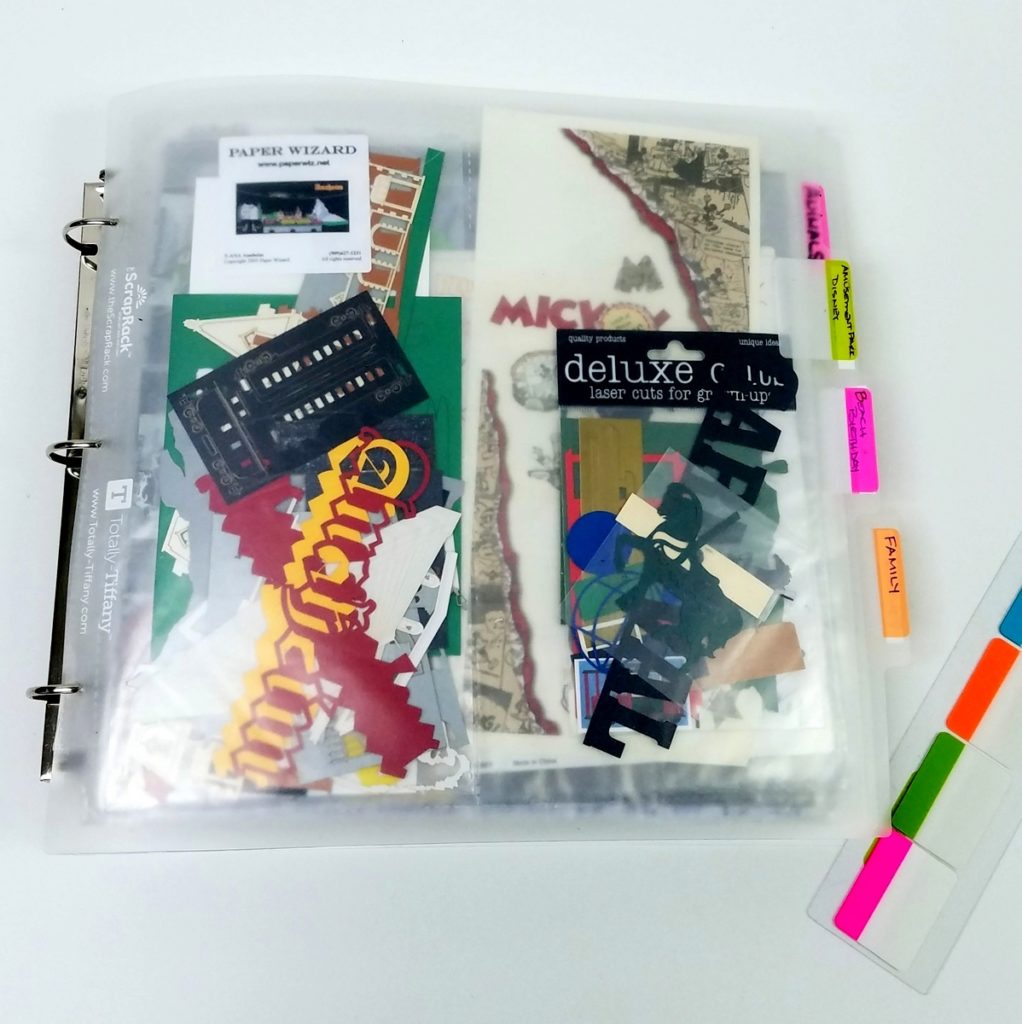
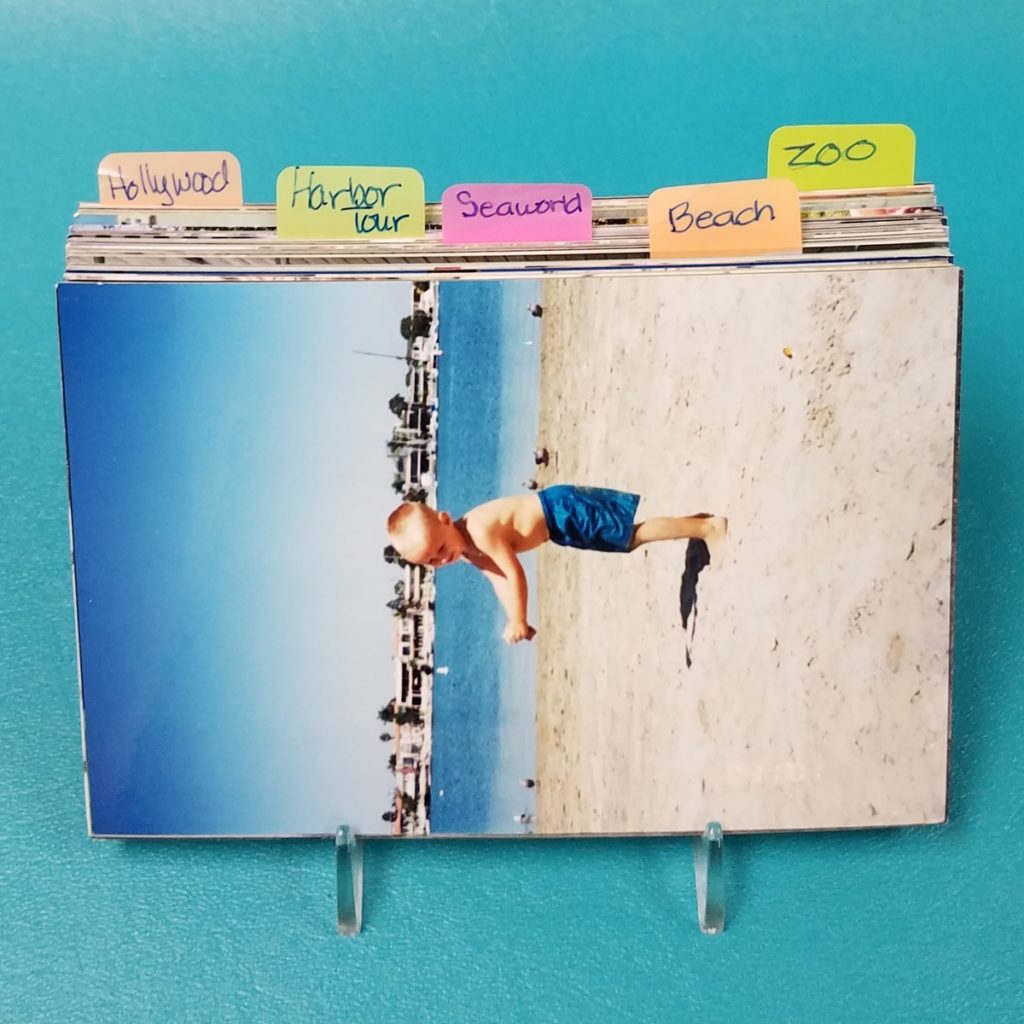
On Photos
After you’ve sorted photos, you want to be able to find exactly what you’re looking for quickly and easily. I use the tabs by writing on the “wrong” side and then sticking it to the last photo in the group. The photos on the left were from a roadtrip to CA. I wanted all the trip pictures together, but also wanted to separate each activity on the trip.
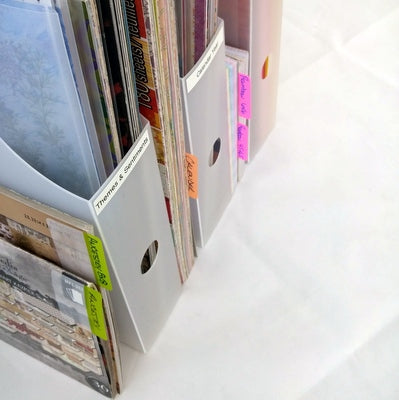
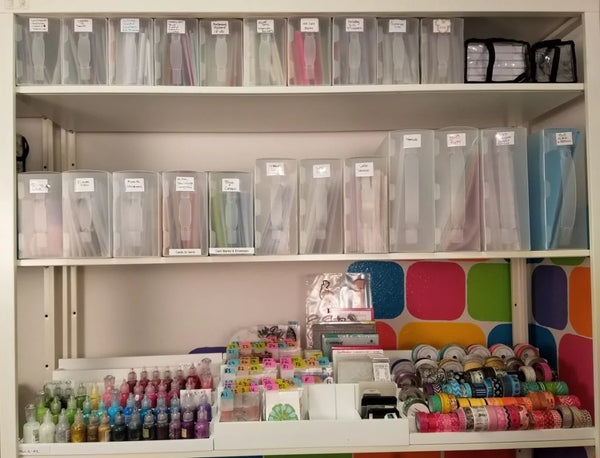
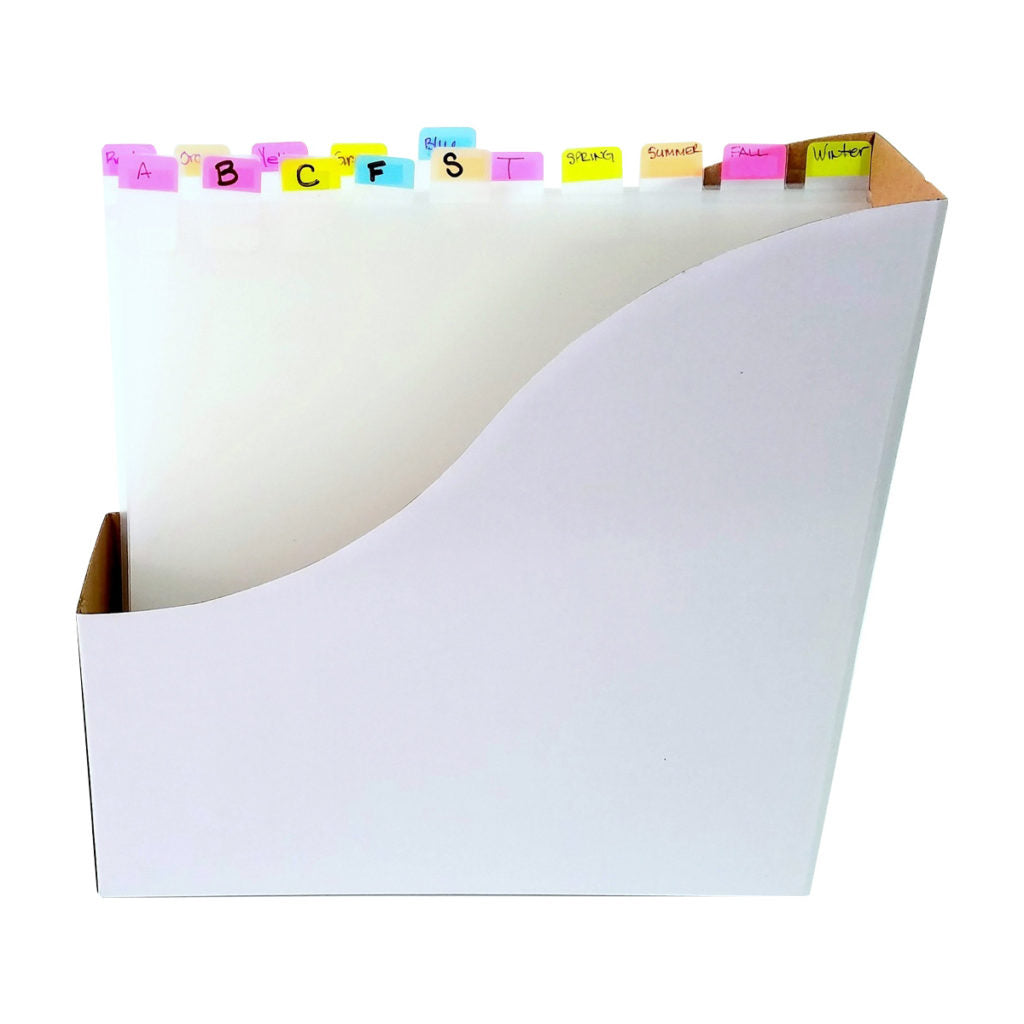
Paper Stacks
If you purchase paper stacks then “stack” them in the closet, you probably won’t remember that they’re there. Instead of stacking your stacks, stand them up vertically next to – or between – your Paper Handlers or Paper Storage Boxes. Add a label to the edge so the theme of the stack is visible at a glance.
Okay – I thinks that’s enough for today. But keep your eyes open, because there’s more to come on this subject!
Have a crafty day!