3 ways to use the Spinder Binder.
- Read time: 5 minutes
- Written by: Tiffany Spaulding
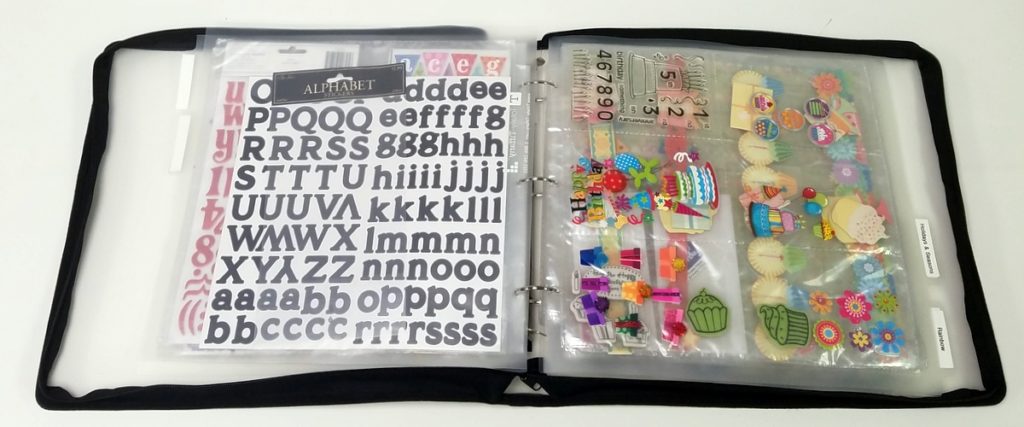
This lightweight plastic “cover” is designed to hold 1 Spinder on its hook & loop spine. The zipper keeps everything contained. The Spinder Binder is oversized to easily accommodate scrapbooking supplies.
Exterior measurements are: 16.25L” x 15″T x 2.5″D or 41.5cm x 38.2cm x 6.2cm.
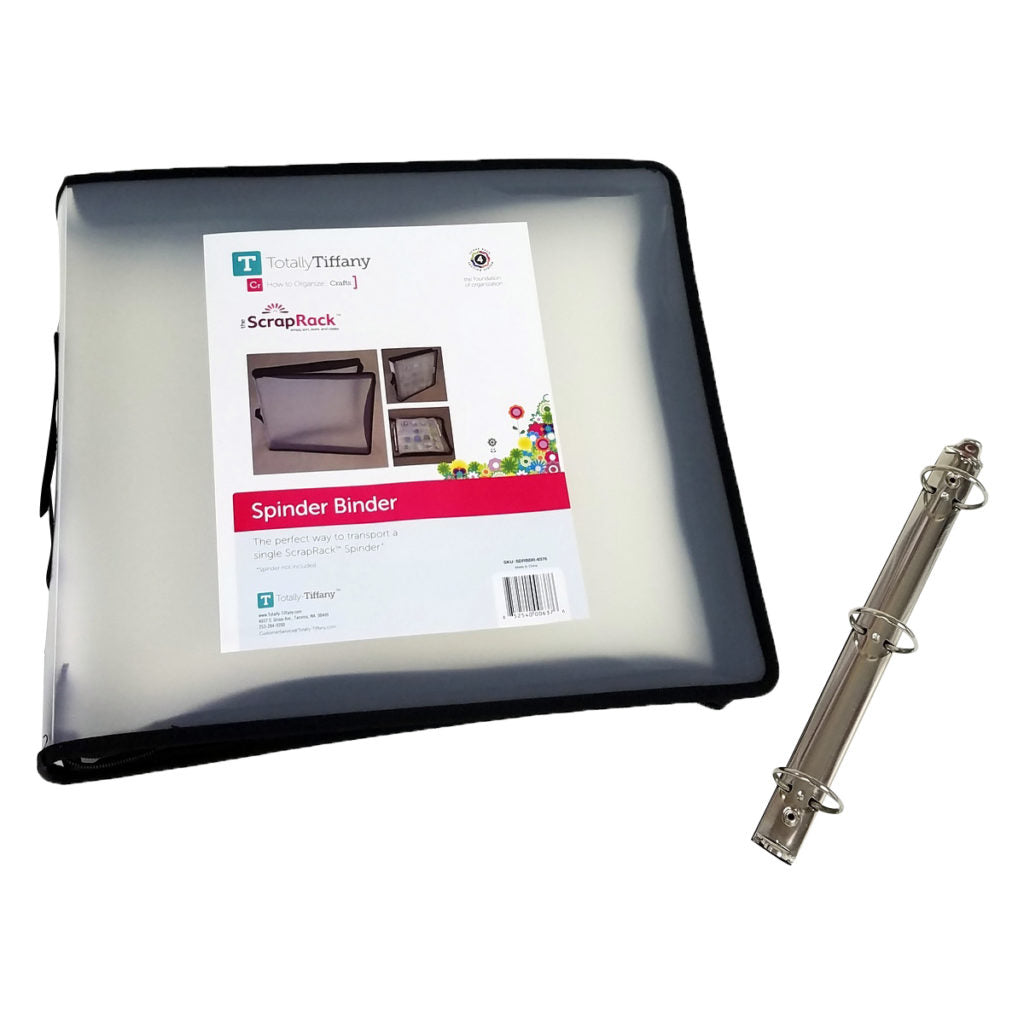
The Spinder Binder was what we call a “popular demand” creation. I was regularly getting asked for an economical way to store and/or transport extra Spinders. The Spinder Binder is that solution.
3 Ways to use the Spinder Binder
There are 3 ways the Spinder Binder can be used in conjunction with the 4 Section System and/or the ScrapRack. Whether you’re trying to figure out how to organize scrapbooking supplies, card making supplies, or general craft supplies into the 4 Section System; or you’ve already got a ScrapRack that needs to be thinned out; or you want to be able to travel easily with your supplies; the Spinder Binder is an excellent place to start.
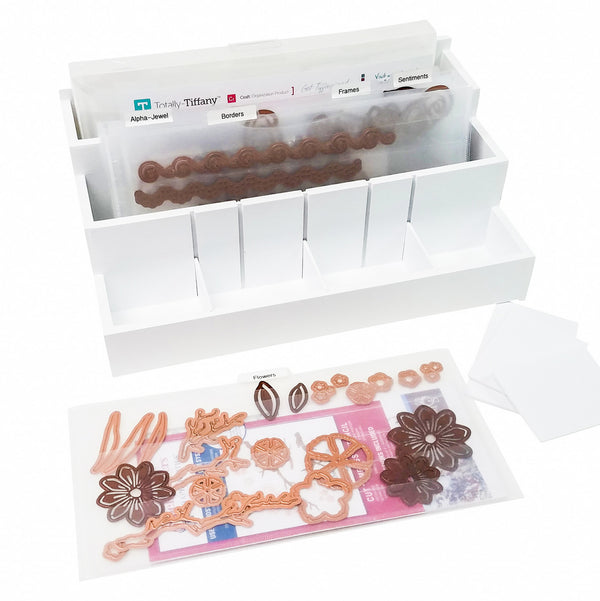
Just getting started with the 4 Section System
The Spinder Binder is an easy way to begin organizing your supplies into the 4 section system.
For newbies, a single Spinder Binder with a variety of pages and a pack of Shut Your Flap tabs can help corral all your supplies.
When your collection grows and you need a bigger storage solution, you can add a ScrapRack base and simply transfer the Spinders from your Spinder Binders to your ScrapRack base unit.
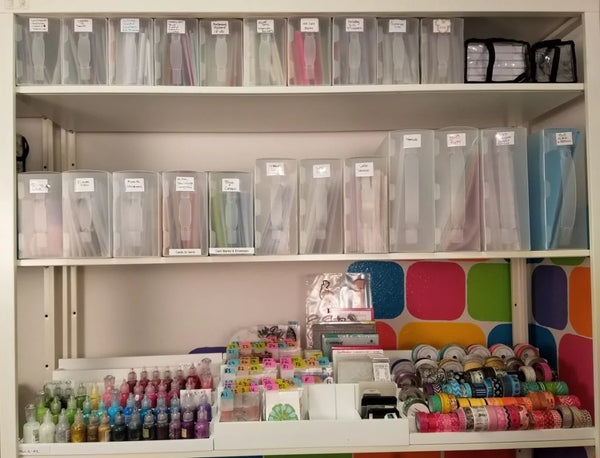
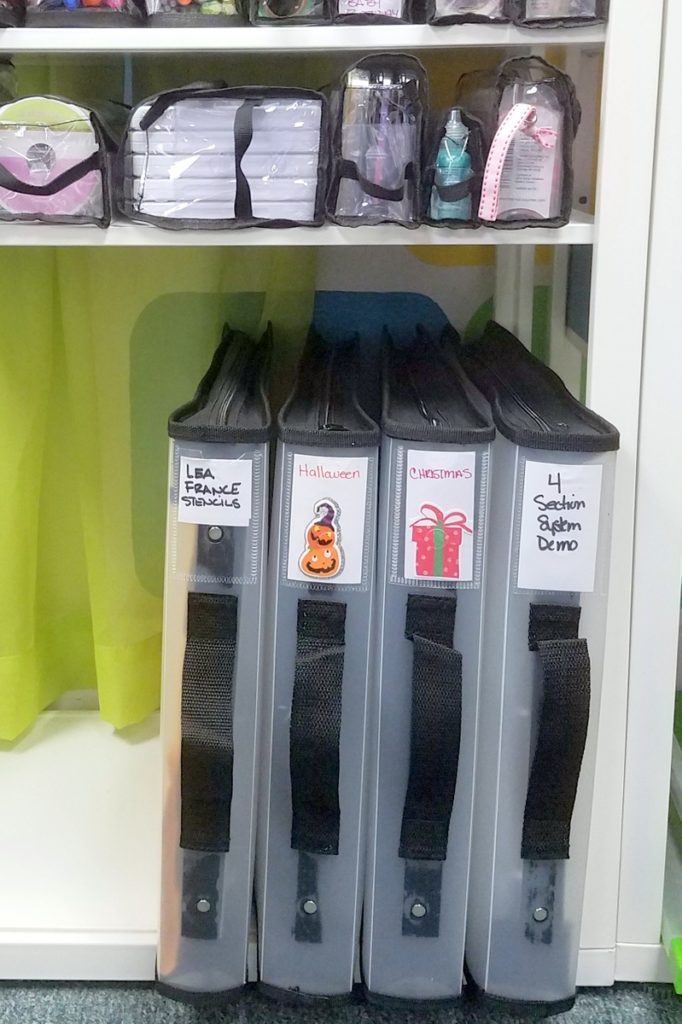
Thinning of your ScrapRack
If you’ve got a ScrapRack that is so full that it is difficult to get to the inner row of pockets, or the pages are almost standing vertically, it’s either time to expand or time to get a couple of Spinder Binders.


There are multiple subjects within the 4 Section System that are most likely not used regularly.
I’m thinking Christmas, Graduation, Easter, Bon Voyage, etc. These are subjects that don’t have a lot of overlap with other subjects.
Consider pulling these or similar themes off your ScrapRack and storing them nearby, each in its own Spinder Binder. When you need these subjects, you can pull other sections off your ScrapRack and add these back in. As an example, if you’re working on Christmas pages, cards, or mixed media projects, you’re probably not going to have much need for Sports, Baby, or Birthday. Pulling off and storing those subjects may give you the room you need to put Christmas back on your ScrapRack base to work on your project.
Traveling with your craft supplies.
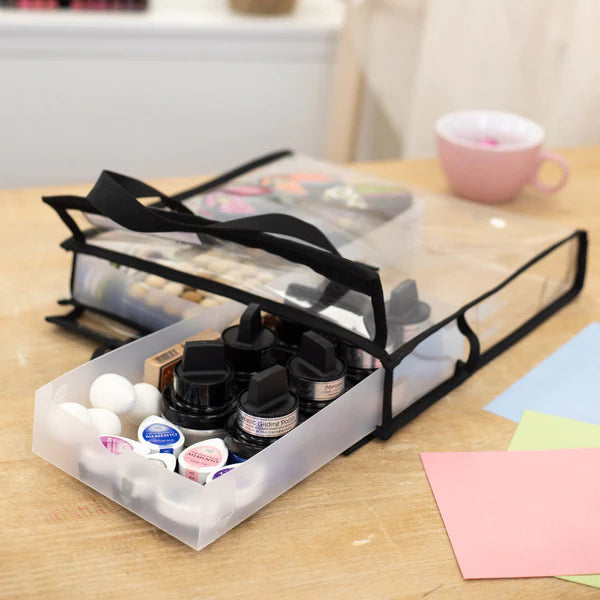
Spinder Binders – or our Craft Binder, for that matter – are a great way to travel with your supplies.
Many regular croppers will use a Travel Base and a crop crate to move a full ScrapRack System. But if you only want to take a few Spinders, packing them up in Spinder Binders can be an easy and economical solution.
Keep a few empty Spinder Binders in your craft stash, then when you’re ready to travel, simply pull the sections off your ScrapRack and put them into the Spinder Binder(s). No need to pull individual items out of their storage pages – that just creates a pile you’ll have to put away when you get home. You’ll be packing for crops and classes in minimal time, with maximum ease.
Tips for using your Spinder Binders
Keep in mind that one of the ScrapRack design components is the angle of the ScrapRack base, which ensures each item stays in the storage page pocket where it belongs. Traveling with your supplies in a Spinder Binder or Craft Binder requires a little bit of awareness about how you’re moving the binders around and opening/using them.
When you’re travelling with these binders, keeping them zipped closed will help keep everything where it belongs.
When you open them to remove items, try to keep them at a slight angle and turn the pages from the upper right-hand corner. You can also use our Shut Your Flap tabs – these add enough weight to the pocket flap to hold them closed. The SYF tabs also make it easier to find the flap!
That sounds silly, but the flaps are clear so sometimes it’s difficult to find them. Maybe It’s because I’m over 50 and I don’t always have my glasses, but the colored tabs do make it easy to find and open your flaps.


If you’re adding decorative labels to your Spinder Binders, you’ll find it is much easier to insert the labels into the label pocket if you lay your Spinder Binder out flat.


Thanks for stopping by today!! If you want to know a few more ways to use the Spinder Binder – please read my blog post – 10 more ways to use the Spinder Binder.
Happy Crafting,