How to make a floral frame card
- Read time: 2 minutes
- Written by: Crafter's Companion
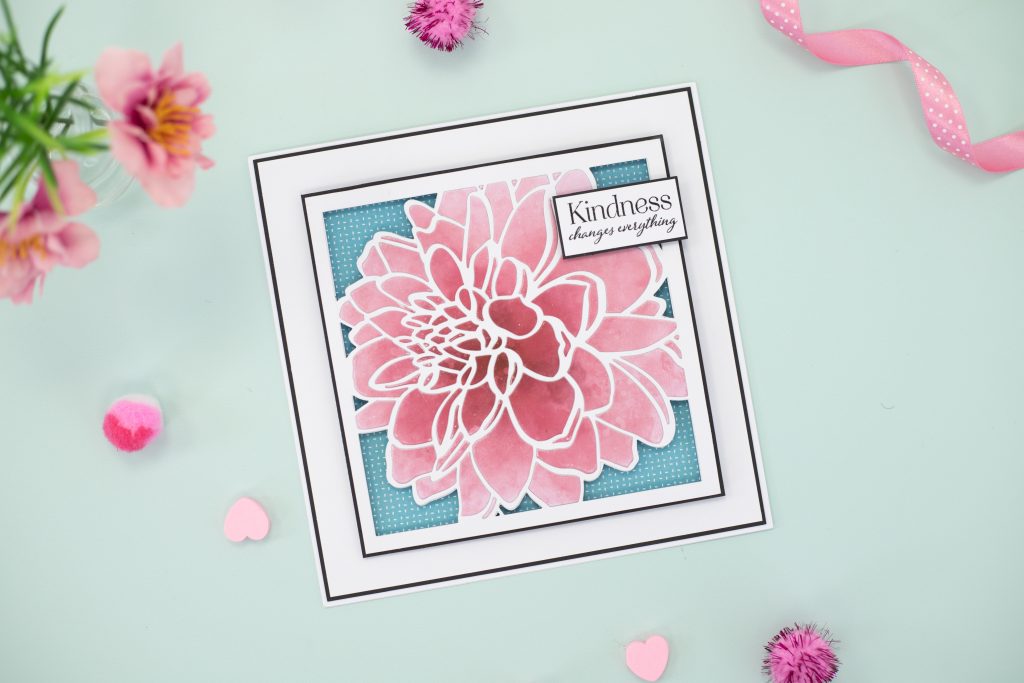
Looking to put your favourite piece of patterned paper on display in a more creative way? With the Gemini Frame Floral Create-a-Card Dies, you can create beautiful die-cut flowers that are a gorgeous centrepiece on top of any of your paper pad favourites, displaying your chosen pattern through each individual petal.
Follow along with our guide below to create your own!
You will need:
- Gemini Framed Floral Create-a-Card Die (We’ve used Dainty Dahlia)
- 1pc of Patterned Paper measuring 5.5 x 5.5”
- 1pc of White Multi-Purpose Card measuring 5.5 x 5.5”
- 1pc of Black Multi-Purpose Card measuring 5.5 x 5.5”
- 1pc of Black Multi-Purpose Card measuring 6 x 6”
- Gemini Die Cutting and Embossing Machine
- Craft Tape
- Crafter’s Companion Glue Tape Pen

Creating your card
- Take a piece of white multi-purpose card measuring 5.5 x 5.5” and place the main metal die from your Gemini Framed Floral Create-a-Card pack in the centre of the card.
- Stick your die in place using craft tape so it’s secure and won’t move about, and send this through your die cutting machine.
- Remove your card from your die cutting machine and plates and remove all of the smaller pieces of cut card so you’re left with the outline of your flower. Top tip: If you struggle to remove the smaller pieces, use a Crafters Companion Pokey Tool.
- Repeat this process with the black card measuring 5.5 x 5.5” so you have two die-cut framed florals in both black and white.
- Take your glue tape pen and apply a smaller layer of glue tape around the outside of your white die-cut card. Place this directly on top of your black die-cut card, so it created a shadowed effect.
- Grab your black multi-purpose card measuring 6 x 6” and your patterned paper piece. Using your glue tape pen, apply glue generously on the back of the patterned paper then stick this to the centre of your black card so you have a border.
- Take your die-cut piece from earlier and apply glue tape to the back black side. Stick this on top of your patterned paper, so the pattern is showing through your die-cut flower.
Your framed floral card is now complete! Add this to A4 card to create an easel card or decorate with embellishments, sentiments and more.
If you’ve created your very on floral framed card, we’d love to see! Follow and tag us on us Facebook, Instagram, LinkedIn, or TikTok and use the hashtag #crafterscompanion so we can check out your papercrafting projects!